Learn How to Cross Stitch
 Cross Stitch is one of the easiest ways to make beautiful artwork. It requires very little practice to create heirloom quality pictures that can be framed, made into pillows, bookmarks or any number of other sewing projects. There are kits to cross stitch hand towels, pillow cases, Christmas tree ornaments, Christmas stockings, baby bibs, baby quilts, lap quilts, brooches, tea trays and many others with just about any theme you want.
While Cross Stitch is technically an embroidery stitch, there are tons of patterns and kits available that only need a cross stitch to complete.
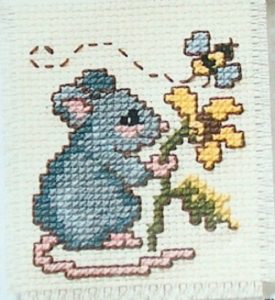
Pictures that illustrate the directions for this mouse kit are featured below in this article.
Cross Stitch Terms
 There are only a few terms or names you will need to be familiar with before you begin.
Floss ~ Thread
Tapestry Needle ~ Needle with a large eye
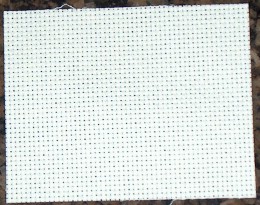
Aida Cloth ~ Evenweave material made with holes for the sole purpose of Cross Stitch
Counted Cross Stitch ~ Literally means you count the squares to find where to stitch
Stamped Cross Stitch ~ Literally means the pattern is already stamped on the fabric so there is no need to count, just follow the X’s on the pattern.
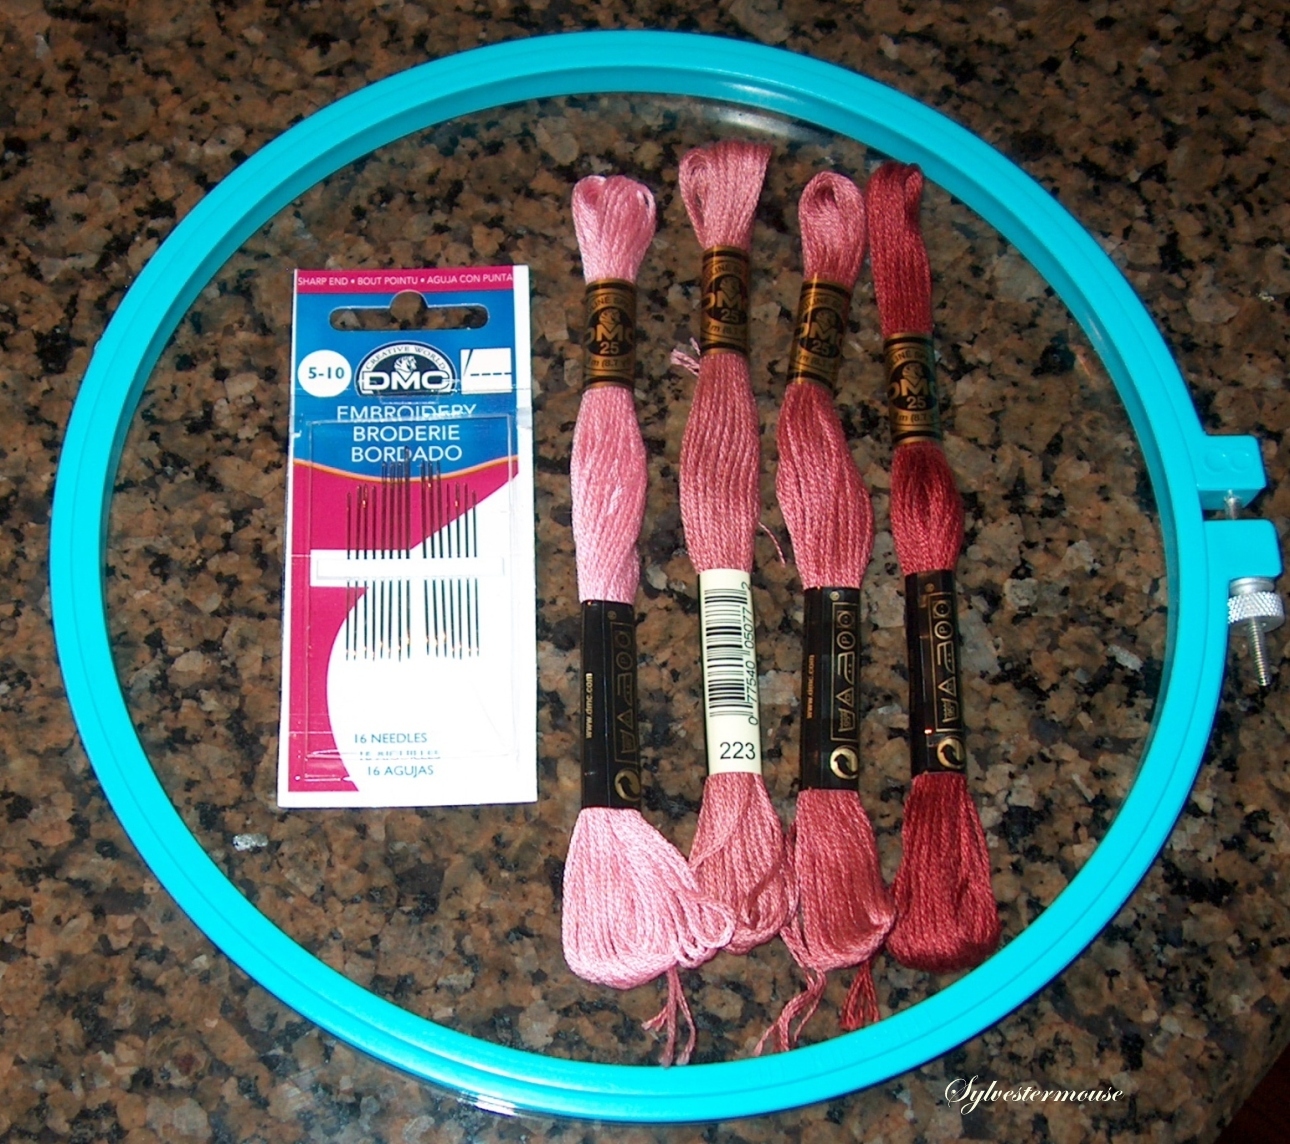
Cross Stitch Floss, Hoop & Needles
 Cross Stitch Floss & Floss Charts

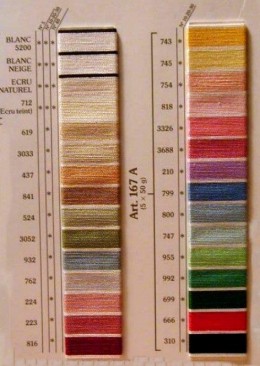
A pattern gives the name & number of the floss you need to buy to complete your project. Floss is usually sorted numerically in the store. Anchor & DMC Floss are the two most common types noted on a pattern.
The picture on the right is an example of the colors next to their coordinating numbers. Plus, the item featured below shows you exactly how the floss thread is package. It is so much easier to find something in a store when you know what it looks like.
DMC Embroidery Floss, Anniversary Collection PackCheck Price
&
Caydo 6 Pieces Embroidery Hoops and 15 Needles, Plastic Circle Cross Stitch Hoop Ring Embroidery Circle Set, 3.4 inch to 10.4 inch (Multicolor)Check Price
What You Need to Get Started in Cross Stitch
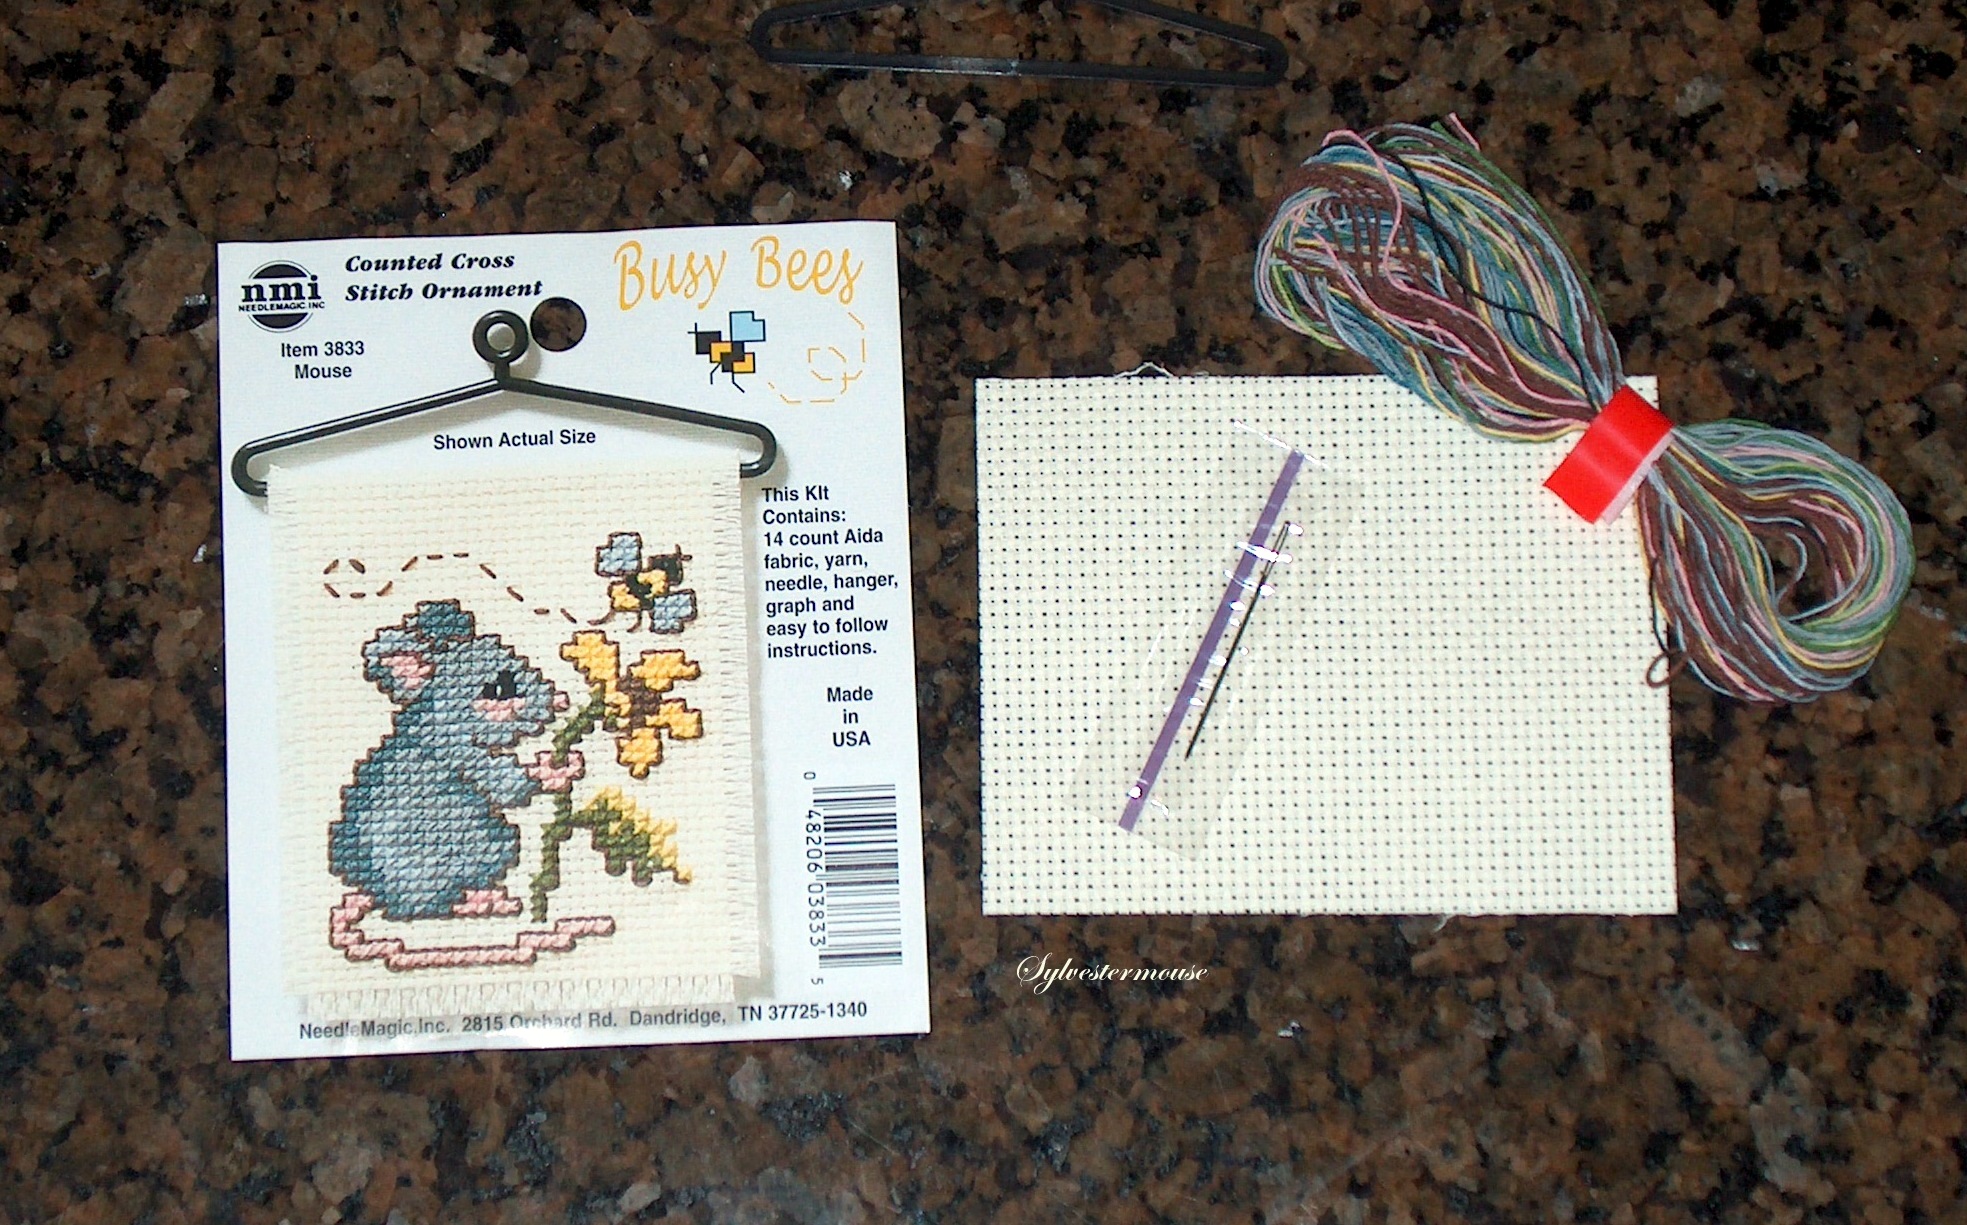
If you buy a kit, often it will have everything you need to complete your project.
Basically, all you need is a pattern, a needle with a big eye, floss, scissors & Aida Cloth. An embroidery hoop is needed for picture projects since they are larger pieces of cloth. The hoop will hold your fabric tight while you work.
You should work in a well lighted area and occasionally a magnifying glass is helpful.
CROSS STITCH KIT ~ Pattern, Aida Cloth, Needle & Floss
Before You Start Your Cross Stitch Project
Make your own floss separator —
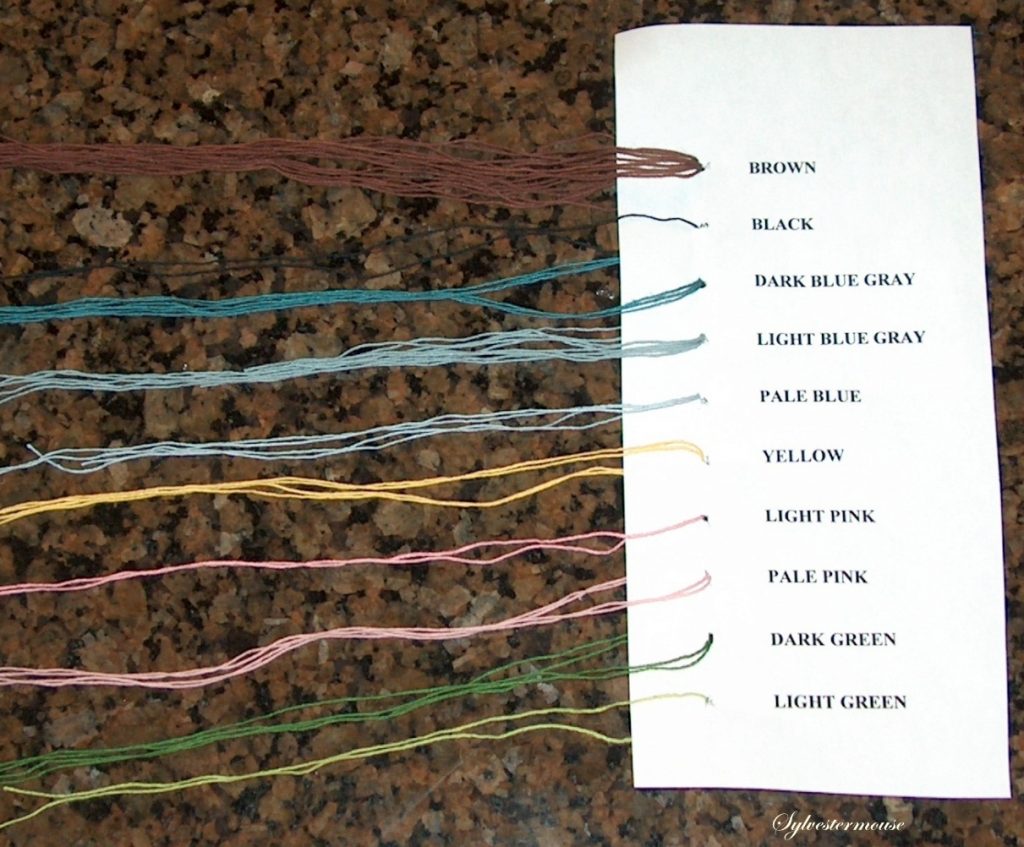
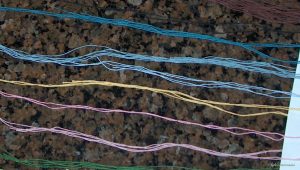 Separate your threads. I can not stress enough how important it is to separate your floss colors before you begin. It will be nearly impossible to tell the difference between some colors later. Look at the pictures now and see for yourself how hard it is to tell Light Pink from Pale Pink or Light Green from Yellow or Light Blue from Pale Blue.
Floss separators are professionally made and sold. Some larger kits even include them. I made this color slip by simply typing the colors (triple space between each) in my word processor and then printing them. I cut the printed paper down to approx. 9″ x 3″. I used a “modified” paper clip to make holes and pull the floss through the paper.
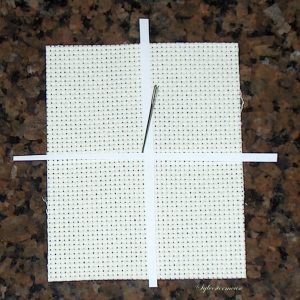
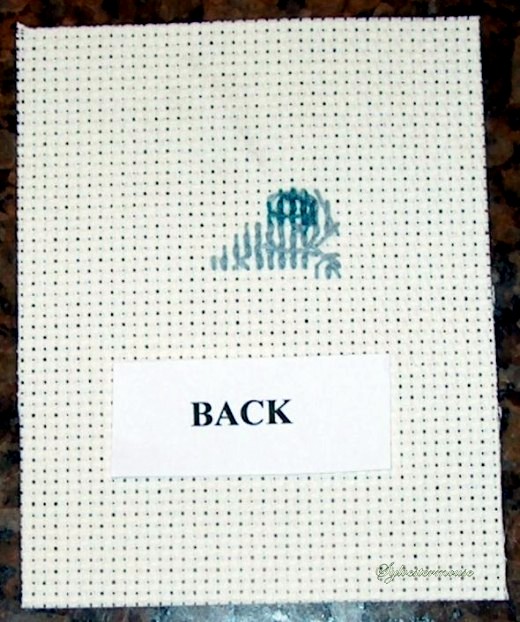
Also, You will want to protect the edges of your fabric. They will fray as you work on your project if you do not take preventive measures. The easiest way is to use masking tape down each side of your fabric. The only problem with that method is that you usually pull out a couple of fabric threads removing the tape when your picture is finished. Another method is to use a sewing machine to Zigzag stitch down each side of the fabric. The problem with this method is that it is semi-permanent. If you don’t want to leave the stitches down each side, you can do damage trying to remove the zigzag stitch. You could cut away the edges but sometimes you need the extra material if you are going to frame your picture. I prefer to use masking tape. If I take my time and carefully remove the tape, I often will only pull one thread from each side which results in considerably less damage than any other method.
Make Your Own Cross Stitch Floss Separator
Reading the Cross Stitch Pattern
 Cross Stitch Patterns are really pretty easy. Sometimes they are even in color!
Each symbol in a square on the pattern represents the color of floss to use for that particular cross stitch.
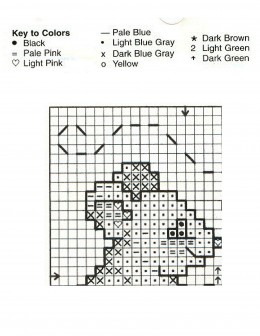
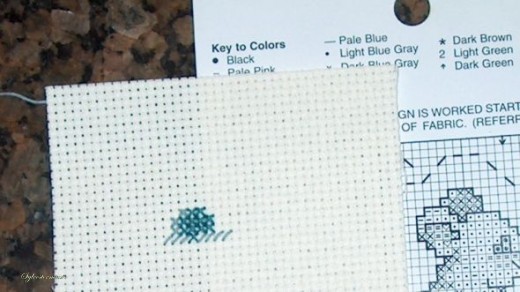
Take a look at the enlarged copied pattern pieces on your right. The top piece is the key for the colors and the bottom piece is part of the actual pattern.
We will be starting with the ear of the mouse pictured in the center. According to the color key the x is Dark Blue Gray and the . is Light Blue Gray and the – is Pale Blue. These are the colors we will work with first.
How to Start Your Cross Stitch Project
 Start your project by finding the Center of your fabric, then count up the holes and over for the starting stitch of your pattern. Look back at the pattern above: The arrow at the top and the arrow at the side of the pattern point to the center of the pattern.
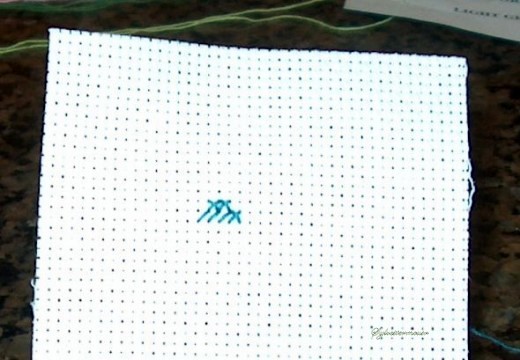
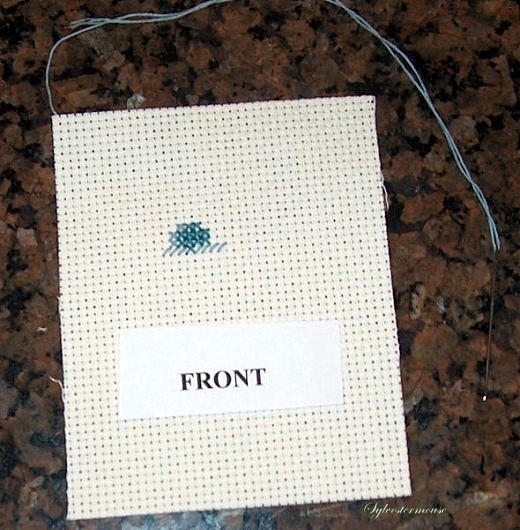
Reading from left to right, see the x on the top line of his ear? That will be the starting point of this pattern. On this mouse, I started up 12 holes and 4 holes to the left of the center to make sure that the completed work will be centered on the fabric.
When you are working alone in the future, you will need to choose a color to start that has several stitches on several rows so you will be able to easily see how to fill in around it. The second color to stitch will be the stitches marked . On my example below, I worked the first 4 lines of x stitches before I started with my second color.
Cross Stitch Directions
 This is very simple:
Instructions will be given for right-handed application.
Hold the evenweave fabric in your left hand and a threaded needle in your right hand.
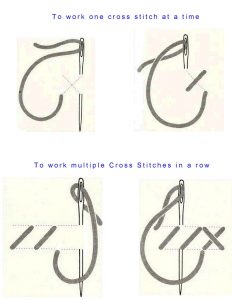
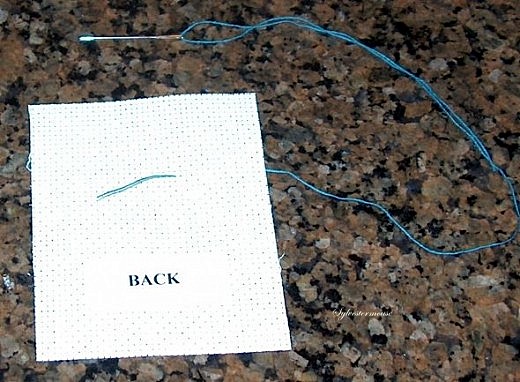
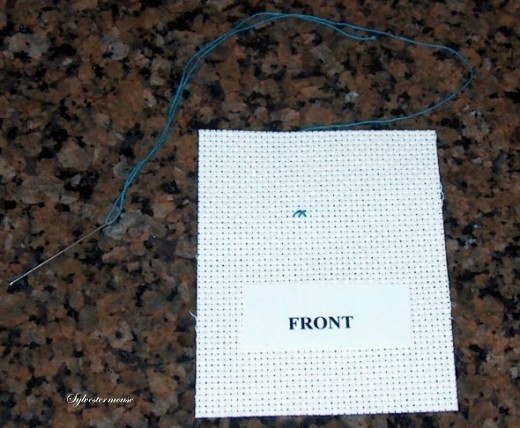
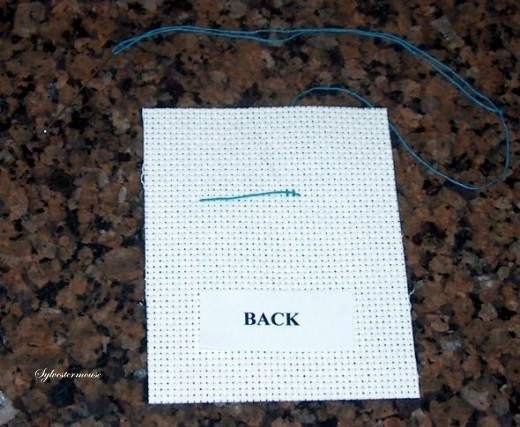
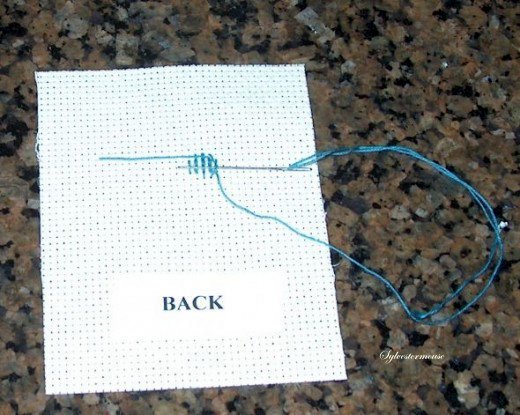
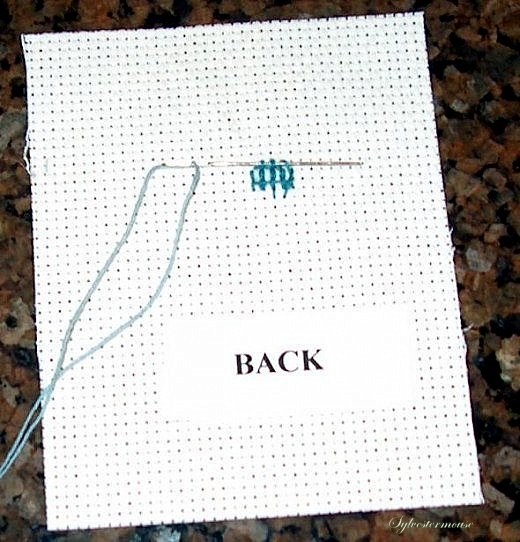
Step 1: Starting your first stitch from the back of the fabric, come up in the desired hole, leaving an inch or more tail in the back. The tail will be tucked behind your finished stitches later so you will not have hanging threads on the back of your finished project.
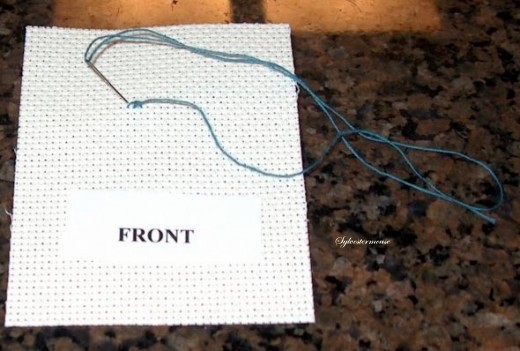
Step 2: Moving in a diagonal direction, make the first section of your X by inserting the needle in the hole diagonally above your first stitch. Your stitch will look like this: /
Step 3: From the back of your fabric, start the second section of your X by first inserting your needle in the hole directly below your step 2 stitch.
Step 4: Again moving diagonally, cross over the first / section, insert your needle through the hole directly above your very first stitch, Thus creating your first completed X (Cross Stitch).
Wasn’t that easy?!
Illustrations from Readers Digest Complete Guide To Needlework pictures were altered and adapted for use in this article. Book featured below.
Cross Stitch Instructions with Step Photos
Use the Controls to Stop or Start the Photo Slider
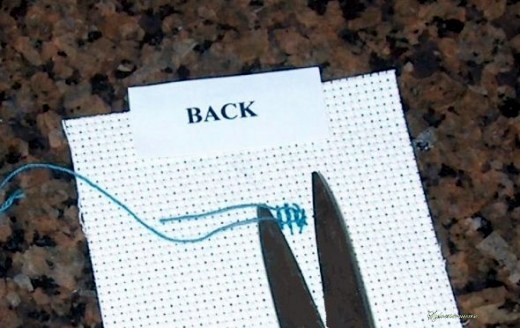
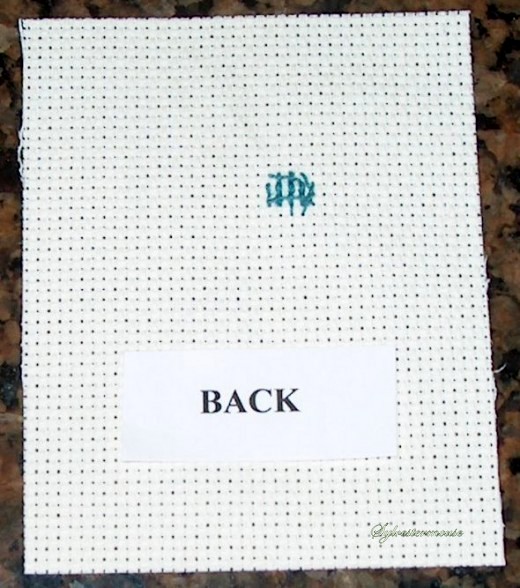
Hiding Cross Stitch Tails and Finishing
Use the Controls to Stop or Start the Photo Slider
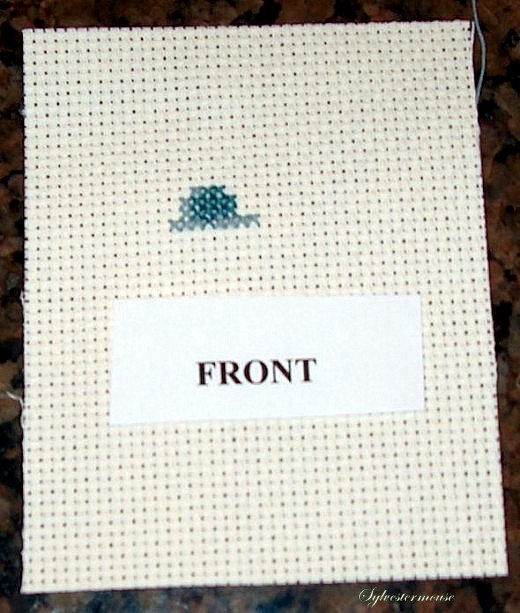
Changing to the Second Cross Stitch Color
Use the Controls to Stop or Start the Photo Slider
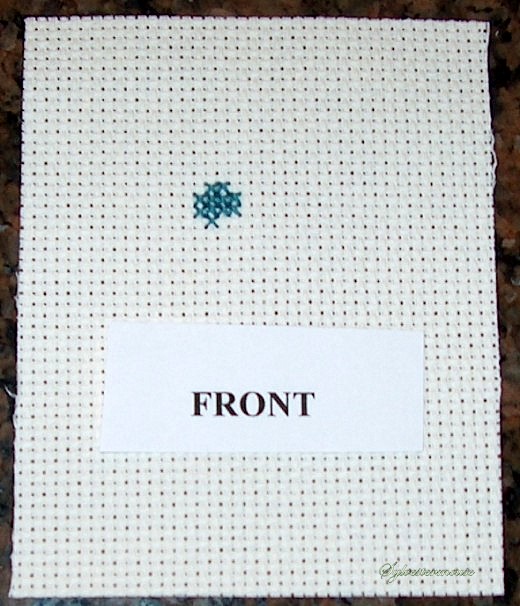
Finished!
When you have completed your picture, you choose how you want to display it. Obviously, if you are making a towel, bookmark, pillow,etc. that decision was made before you started. But if you just wanted to make a picture, you can frame it with or without glass, with or without a mat, or you could make it into a banner and put it on a hanger. This mouse kit came with a hanger.
With a small kit like the one featured in this lens, you will quickly finish you project and be ready to start your second picture.
What’s Next
 After you have finished your first project, enjoy it! Bask in the delighted feeling of accomplishment. Ah!
I almost always give my projects as gifts. I’m not sure why that happens or how I started viewing my work as something for others. I guess I think I can make one for myself later. Be warned though, experience has taught me that this rarely happens. Take my advice: keep your first project and occasionally treat yourself with the gift of keeping your own work.
Don’t limit yourself! Of course the first few projects should be small and simple. Allow yourself the quick accomplishments and the time to set your own pace and comfortable rhythm. But when you are ready, buy your favorite picture on a cross stitch pattern or in a kit and watch it unfold in your own hands as you re-create it stitch by stitch.
My current project “Moon Dragon” will not be finished in a few days, probably not even this year, but when it is finished, my son will have a masterpiece (even if I do say so myself) The finished part of the “Moon Dragon” is pictured on the right. It is very detailed and changes colors frequently. The blues all look alike until you see them side by side in a row of stitches which creates a very dramatic effect.
While it will never hang in the halls of a museum, it will someday hang in his home as a constant reminder of how much he is loved.
Reader’s Digest Complete Guide to Needlework
The illustration in the section “Cross Stitch Directions” was scanned and adapted for use in this article from this book, Reader’s Digest Complete Guide to Needlework. Truly one of the best reference books in my craft library!
&
This article was originally published by me in 2009 on a different site that no longer exists.
Unless otherwise noted with the individual photo, all Photos are mine and should not be used without written permission.
© Sylvestermouse
You May Also Like
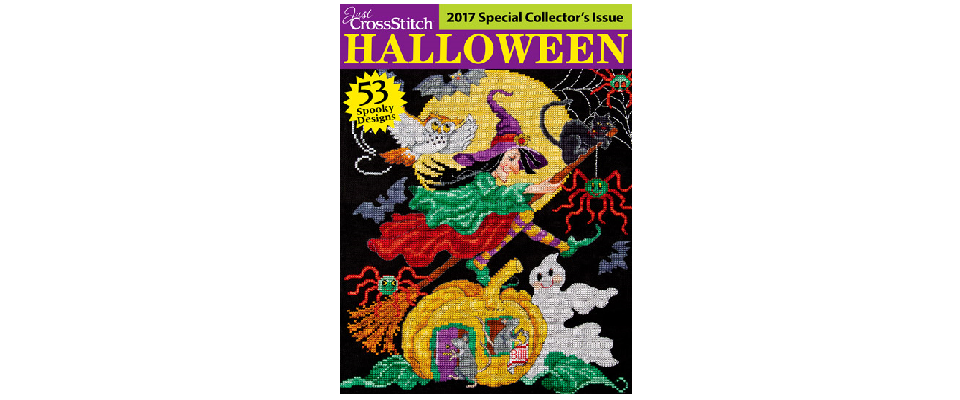
Just CrossStitch Halloween Magazines ~ Special Collectors Editions
June 5, 2025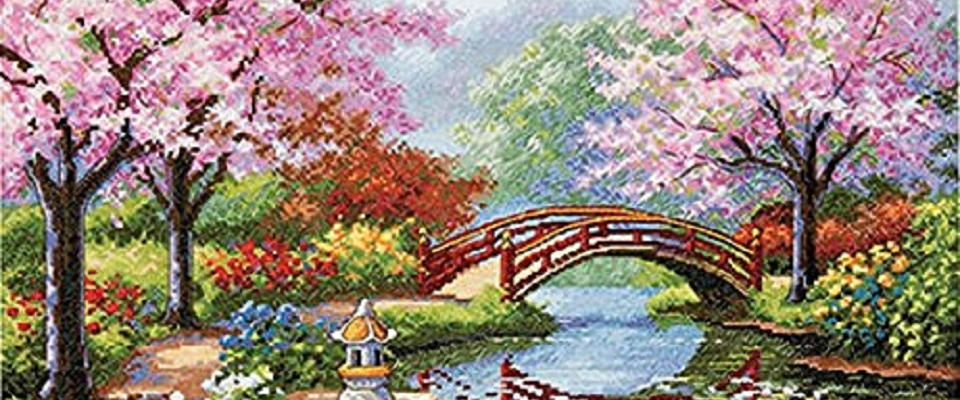
Spring Cross Stitch Kits & Patterns
June 7, 2025
6 Comments
Susan
Excellent tutorial! I’ve done a lot of counted cross-stitch in my time, though none for a long time, and it was fun to read through and recall some of the projects that I’ve made in the past. And yes, you’ve given me a bit of an itch that I might have to consider scratching with a brand new project!
Pingback:
Pingback:
Pingback:
Helene Malmsio
I used to cross stitch all the time years ago… I must get back into it since I have unfinished kits and new stitch design books!
Angela
Excellent tutorial! I bought a kit, but was still intimidated. I can’t wait to start my first project.