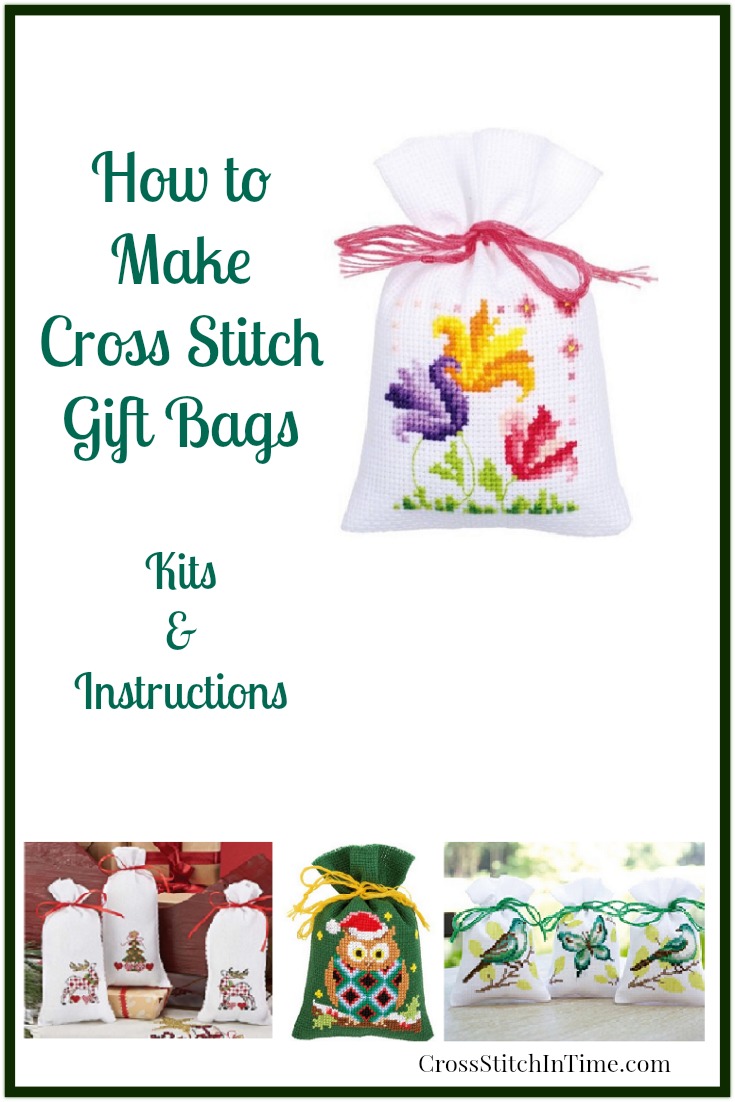
How to Make Cross Stitch Gift Bags
 Cross stitch gift bags are a beautiful way to “wrap” a gift and give a keepsake at the same time. Most of the cross stitch gift bag kits include Aida cloth, but you are required to actually make the bag itself after you have completed the needlework. That comes as a real surprise to many customers. However, if you own a sewing machine and can sew a straight stitch, it is really very easy to make the gift bags themselves.
You can make you own gift bags without a kit by simply gathering the supplies needed yourself. Or, you can buy a kit that includes everything you will need.
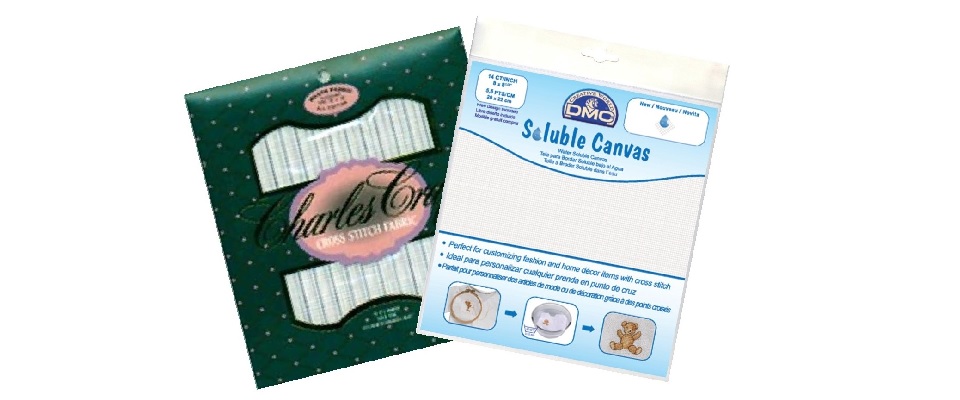
Start a cross stitch gift bag project by cross stitching the design on the cloth. You can make a bag out of the aida cloth itself. Or you can buy any fabric and use waste canvas to apply a cross stitch grid to the fabric.
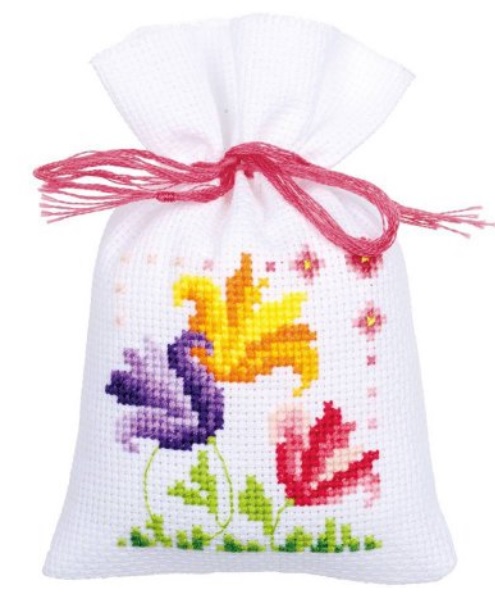
Once the gift has been opened and the contents removed, the recipient can fill a cross stitch bag made with the aida cloth with potpourri. It will make the perfect sachet!
Cross Stitch Gift Bag Kits
Kits make any project easier simply because everything needed is included in the package. No need to shop for dozens of thread color or the Aida cloth. These cross stitch gift bag kits will help make the shopping part a lot easier.
Note: The kits will give specific instructions on the sizes you will need to cut the cloth to make the bags. However, the basic way to make the bags will still be the same.
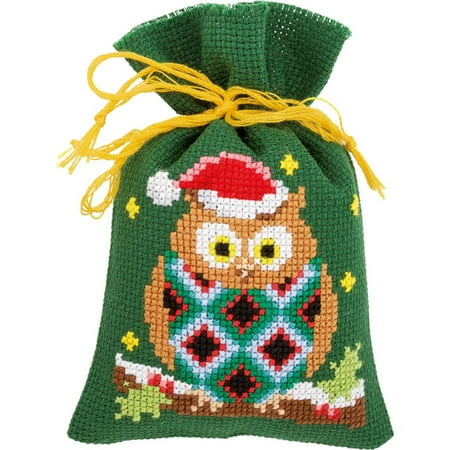
Vercaco Bags Counted Cross Stitch Kit 3.25″X4.5″-Christmas Gnomes 3/PkgCheck PriceChristmas Elves Bags – Aida Counted Cross Stitch Kit, 3.25″X4.75″, 18-Count, Set of 3Check PriceCounted Cross Stitch Kit: PP Bag: Bird & ButterflyCheck Price
How to Make Cross Stitch Gift Bags
After you have finished cross stitching the design, cut a front and back fabric piece the same size for the bag. The back can be either fabric or aida cloth.
 Press the top edge 2″ to the wrong side of each piece. With right sides facing and with the raw edges matching, pin the two sides together. Using a 1/2″ seam allowance, stitch the front and back pieces together along the bottom and the sides. Trim the bottom corners diagonally. Whipstitch the top edges on each piece in place.
Then, turn the bag right side out.
Tie a ribbon or cord in a bow around the top to close the bag.